Ventilation
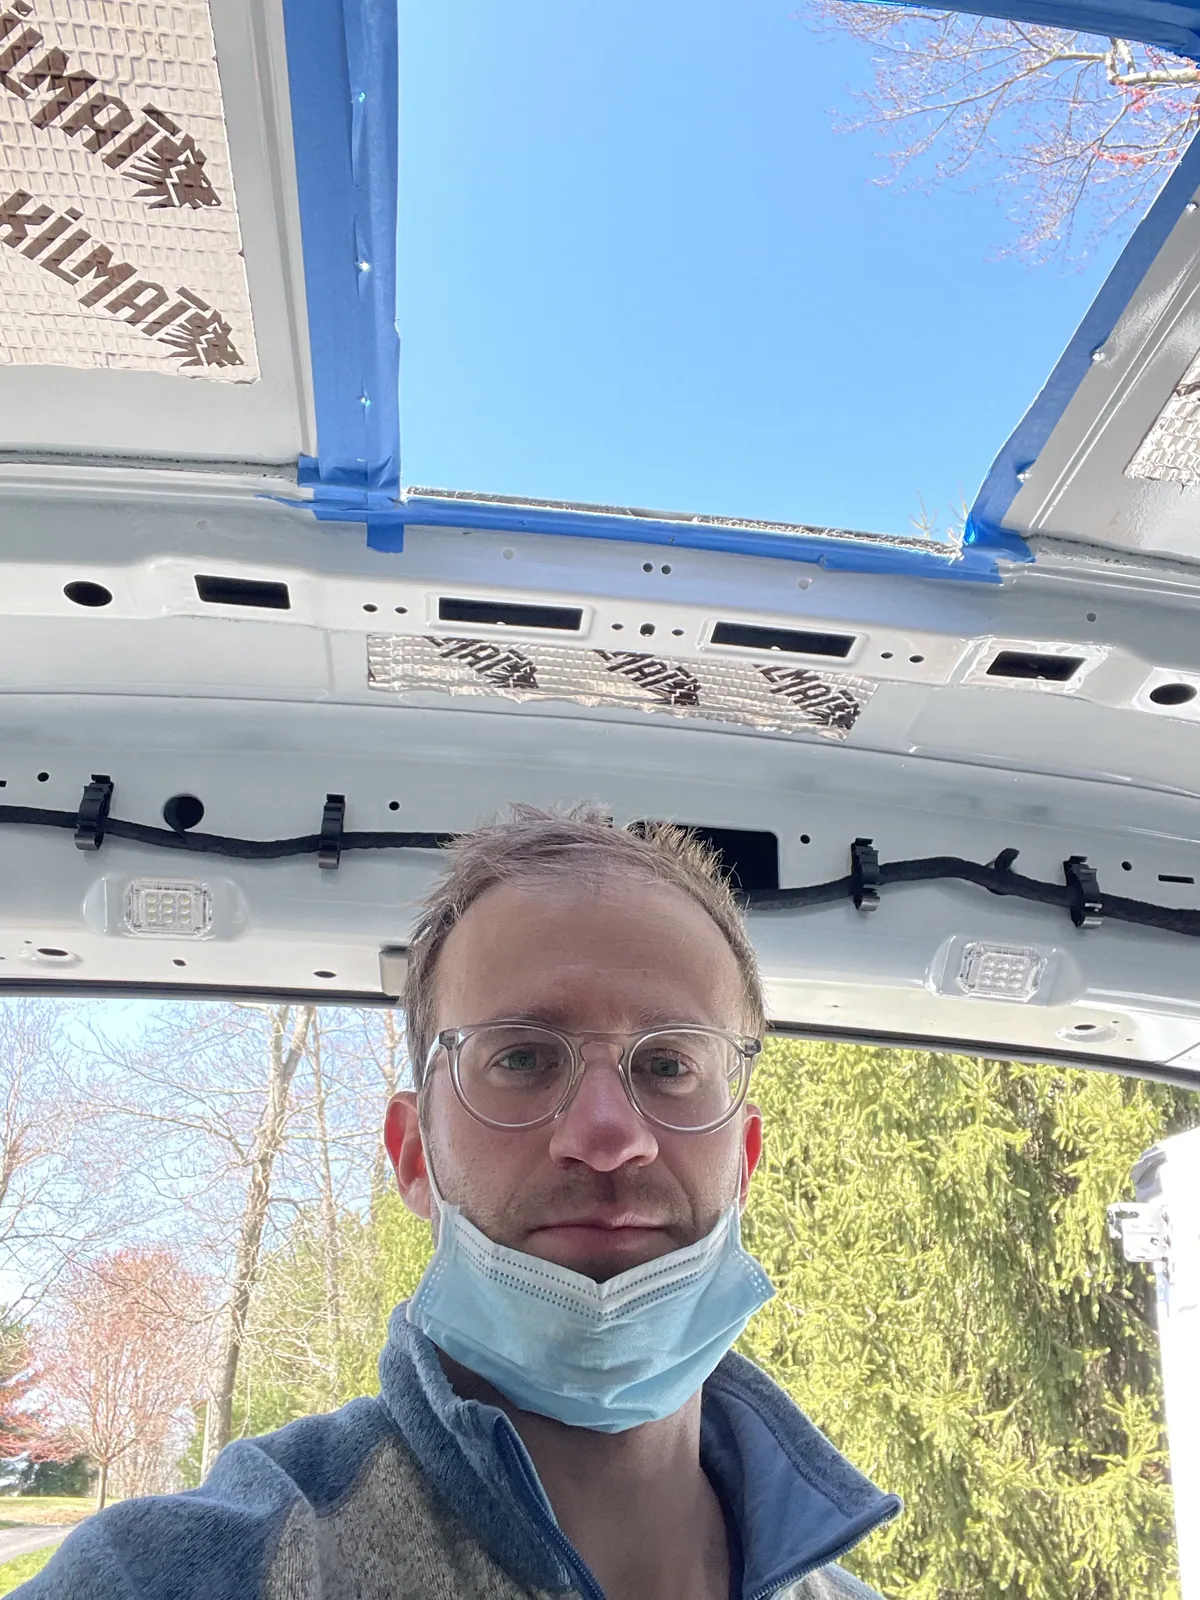
One of the biggest concerns of living in a van is moisture accumulation. If moisture accumulates then mold is inevitable, so ventilation is critical.
I purchased a rain guard for the front cabin side windows so I can crack them without rain getting in, and installed a vent fan on the top rear. This arrangement gives me end to end cross ventilation.
Just finished installing the Maxxair fan in the rear of my van, and wow that was more difficult than it should've been. I feel like everything bad that could have possibly happened, happened.
When I started cutting, I went through 3 different jigsaw blades (first time EVER using a jigsaw, phew). But I finally got that dreaded 14" x 14" hole cut out for the fan.
It was particularly challenging because of the location of my fan. I decided to put it over my sleeping area towards the rear in order to give as much space for solar panels as possible. This caused a bit of overlap into the van's perpindular support beams, avoid cutting these at all costs !
Once I got the hole cut out, I added the butyl tape to the fan adapter
what victory looks like
https://www.youtube.com/watch?v=IvTihdvyMbs&t=3s
-
apply butyl tape on vent fan flange.
-
place vent/flange on adapter
-
drill pilot holes and clearance holes (from inside) if needed.
-
install screws but only snug so you don't compress and squeeze out the butyl tape.
-
coat vent flange, screws, side of adapter and onto roof with sealant. (we used Flexseal in grey)
Use dicor with painters tape as contour
Use garbage bag taped around perimeter or cardboard box
Lessons:
- Make sure you have the correct threads and are big enough for the bit
- Ensure the 3M window weld has time to cure