Bench upgrade
StatusPlanned
CategoryBath
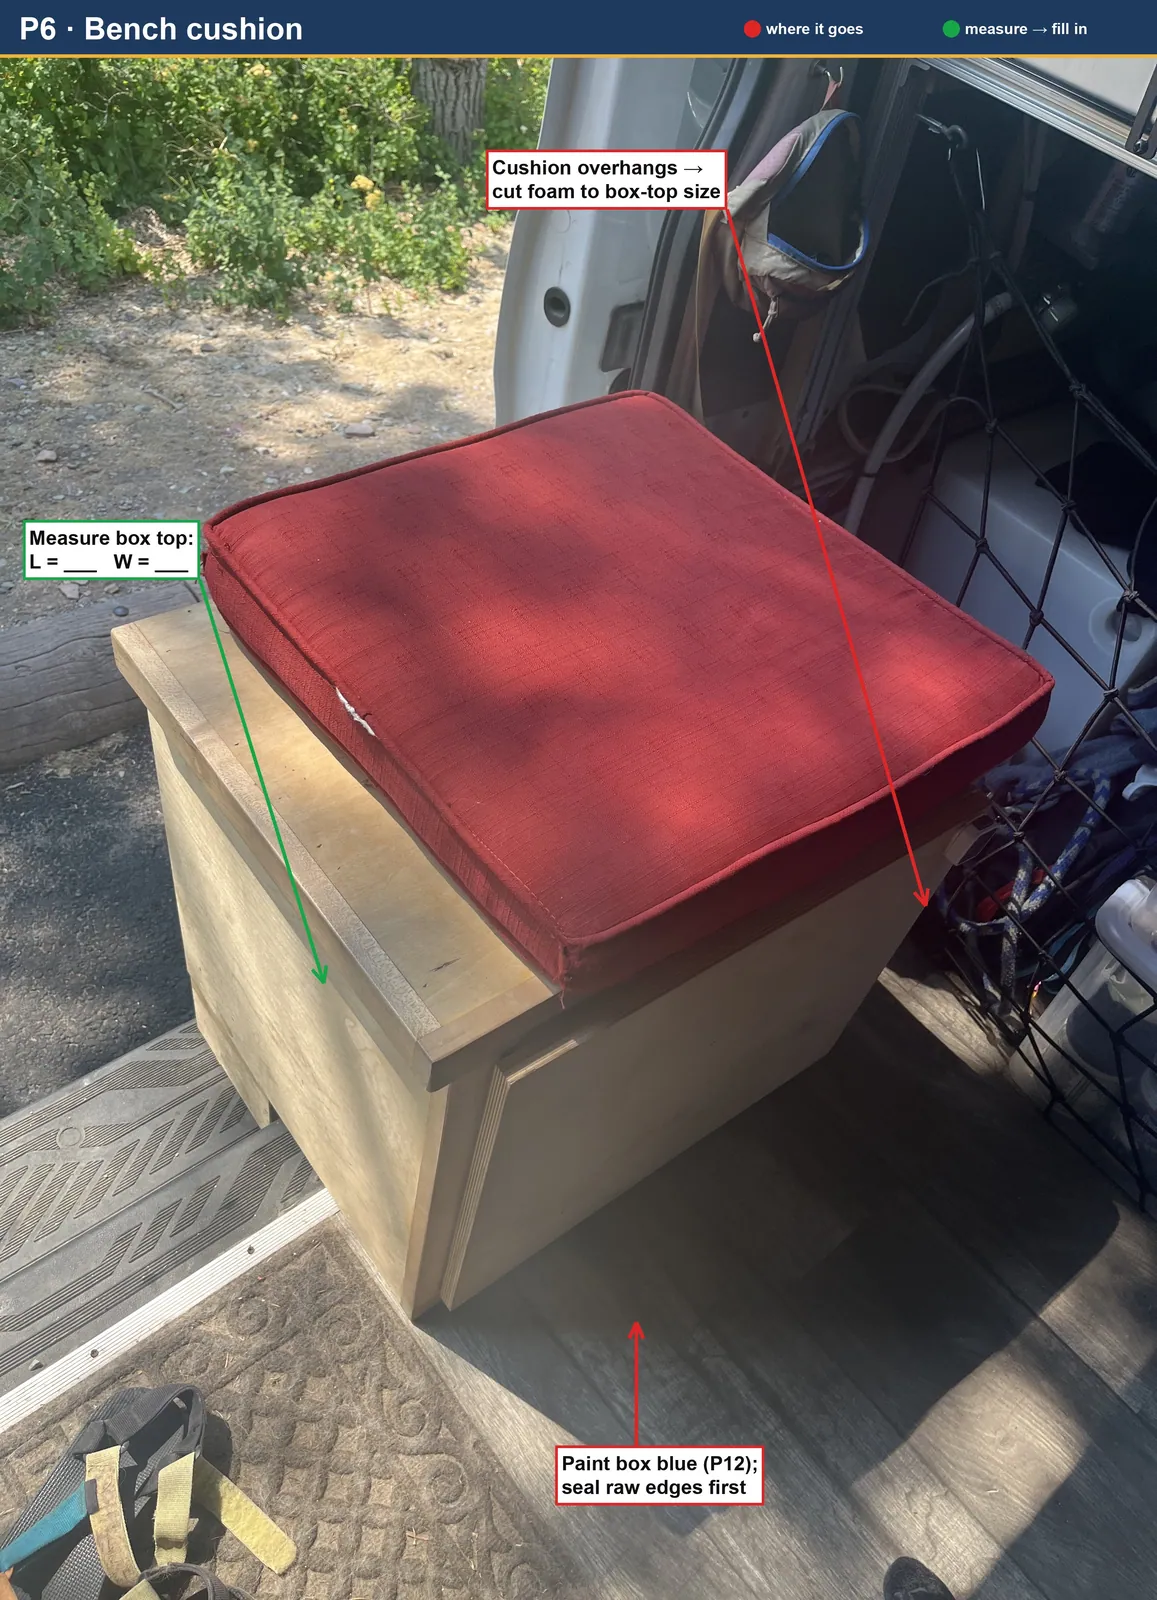
- What: Cushion cut to fit + waterproof + more comfortable, add a fold-up/extending backrest, and paint the box.
- Cushion: high-density foam cut to the bench-top footprint (currently overhangs); wrap in marine vinyl (wipeable, waterproof. best for a wet/bathroom area) or a removable waterproof zippered cover.
- Backrest (converts): piano-hinge a plywood backrest to the back edge; hold it upright with folding shelf brackets / a locking friction hinge (the "lever") that releases to fold flat and extend the seat.
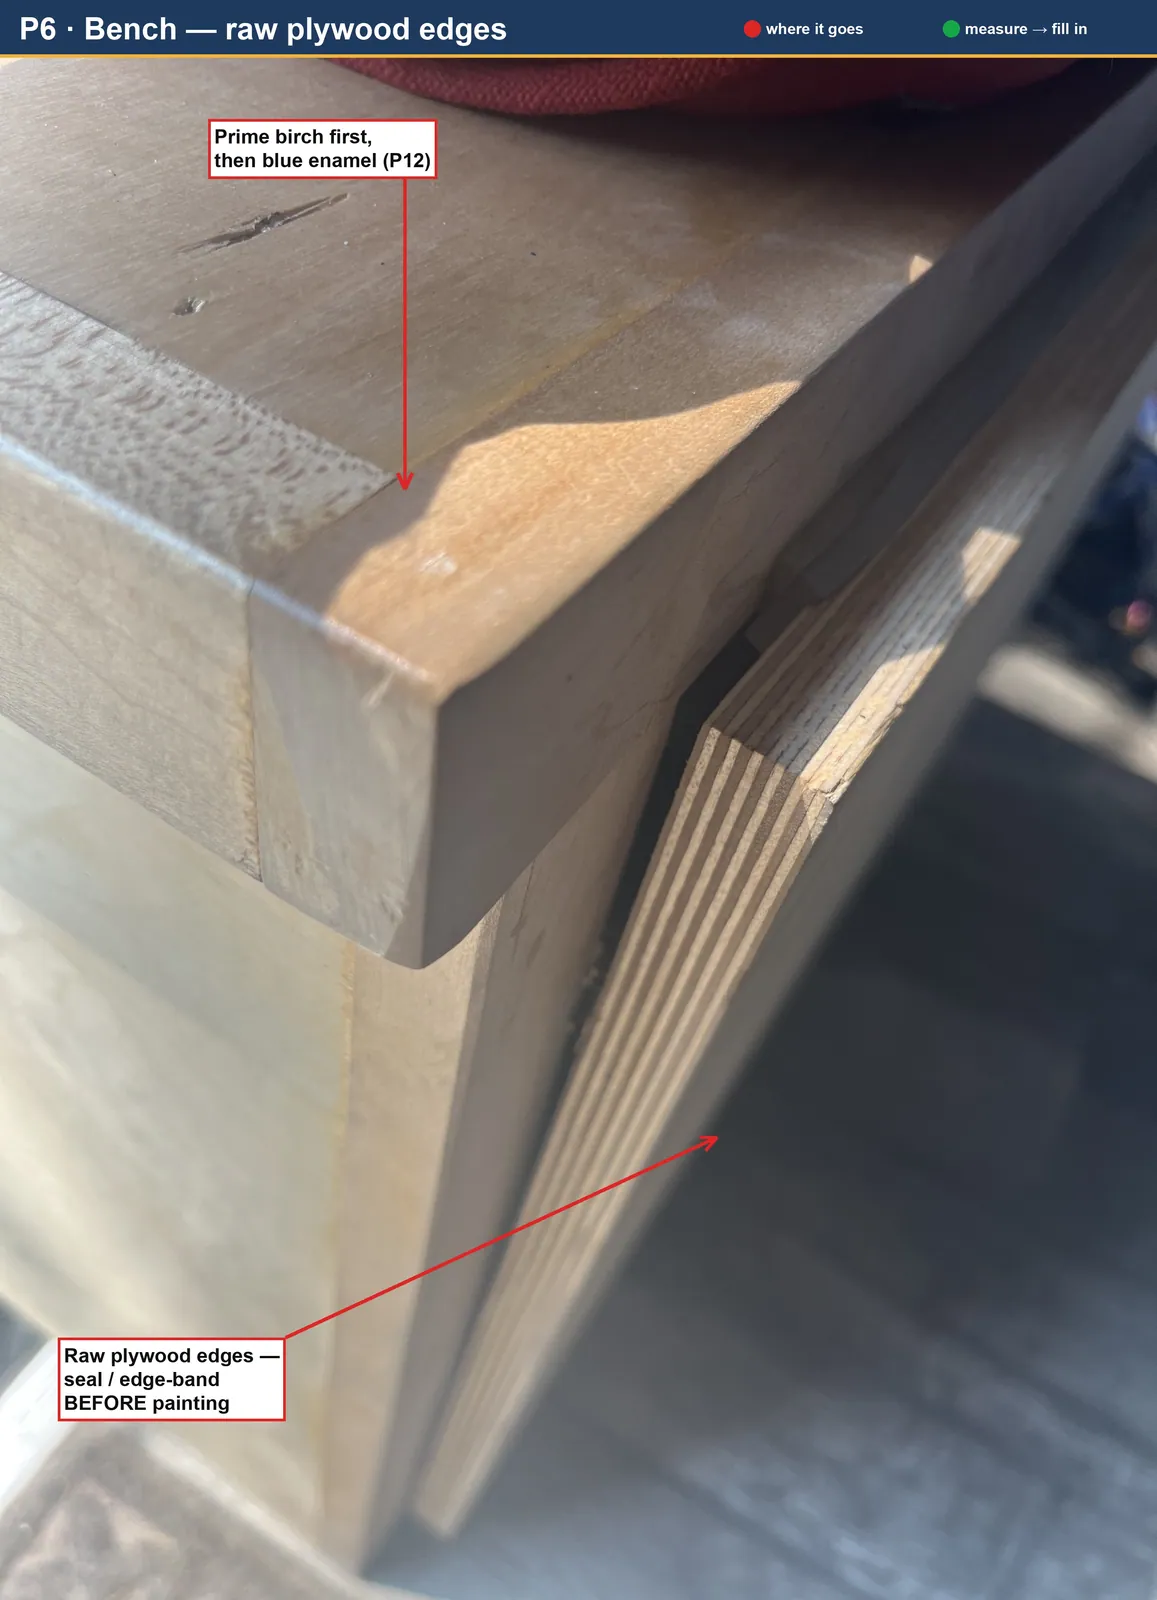
- Paint: prime (birch is porous) + enamel; seal/edge-band the raw plywood edges first (see photo. currently bare). Same blue as kitchen if desired.
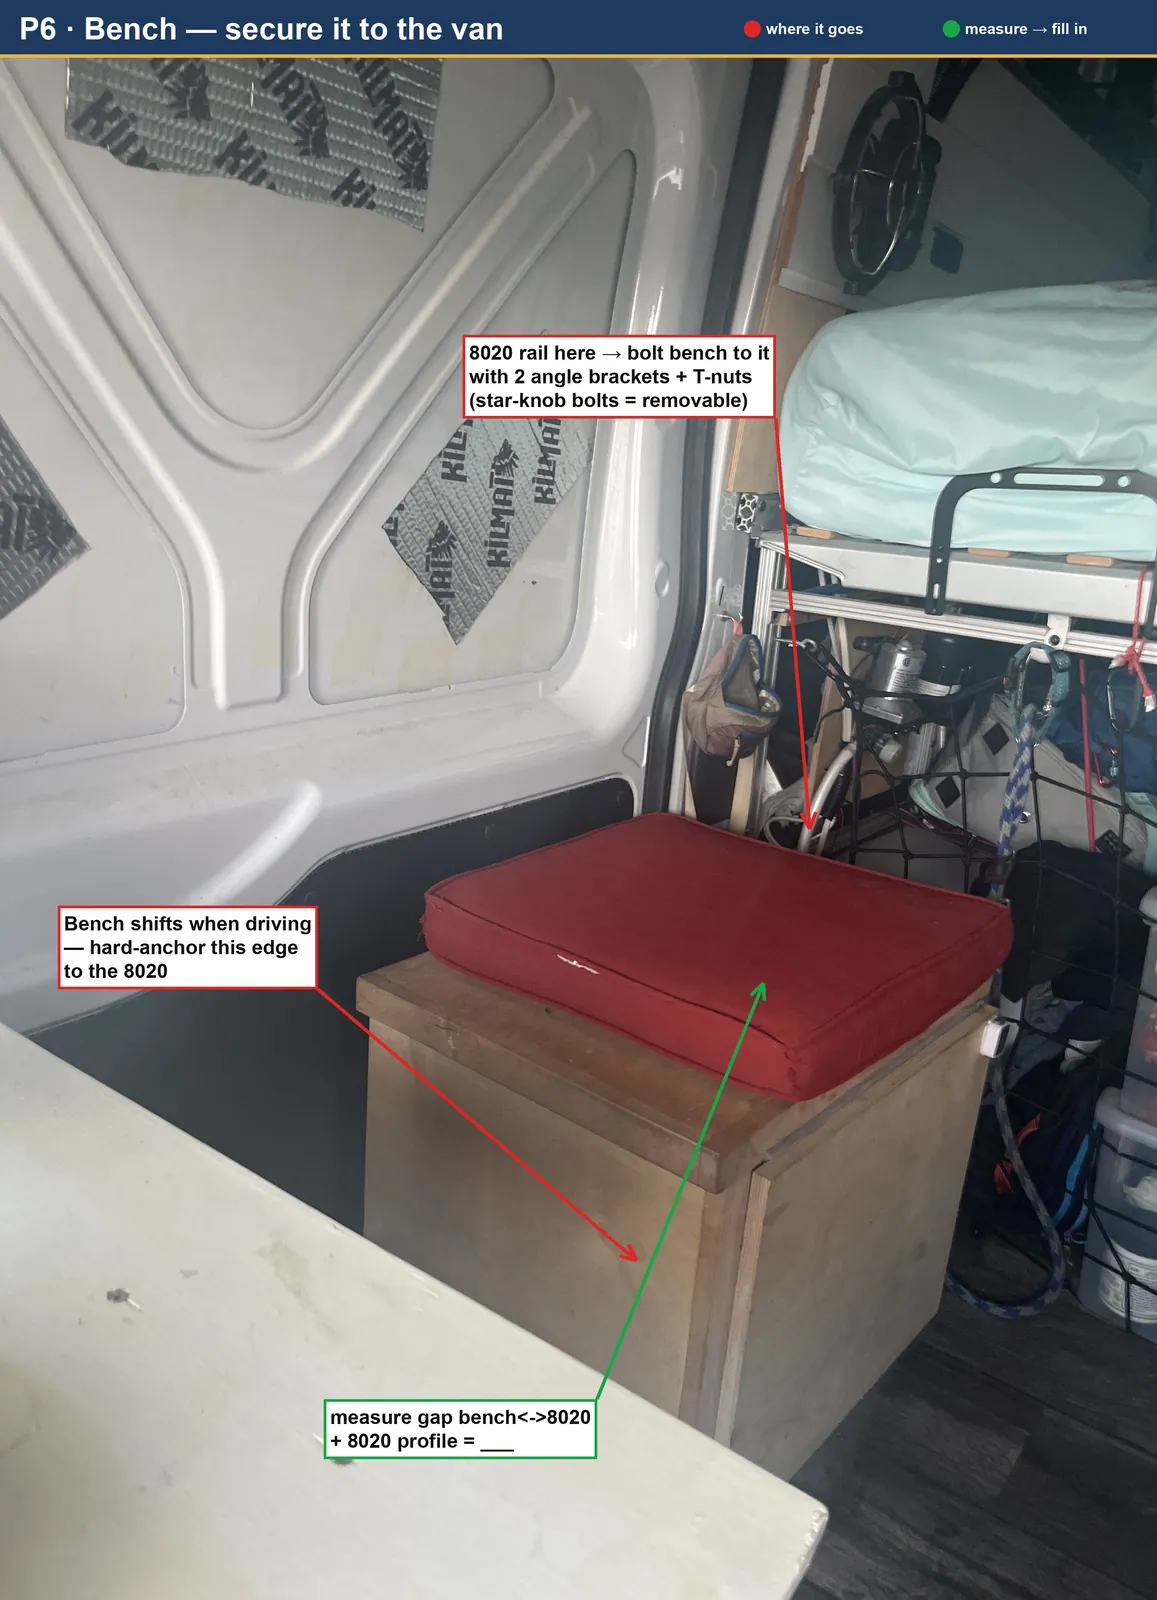
- Secure to van (bench shifts while driving): there's an 8020 rail right behind the bench. bolt the bench to it with 2 angle brackets + drop-in T-nuts. Use star-knob bolts into the T-nuts if you want it hand-removable. A strap alone won't stop it creeping; hard-mount is the fix. If there's a gap to the rail, add a spacer block. (see P6-bench-securing photo)
- Need to buy: high-density foam (cut to size), marine vinyl / waterproof cover, piano hinge, folding/locking brackets, primer + enamel, edge banding; 2 angle brackets + T-nuts + star-knob bolts (secure to 8020)
- Tools: oscillating saw ✅, drill ✅, electric carving knife (foam. same one as the mattress)
- Measure: bench top L × W (cushion), desired cushion thickness, backrest H × W + how far the seat extends, box surfaces to paint; gap bench↔8020 + 8020 profile (for the anchor brackets)
Photos